


Echo Sage in Merge Tactics: The Hidden Best Diamond Strategy
Ricky Royale tests the Echo Sage across three Diamond games: how to farm kills with the Ruler, protect it from snipes, and stack a Boss frontline into a four-star blowout.
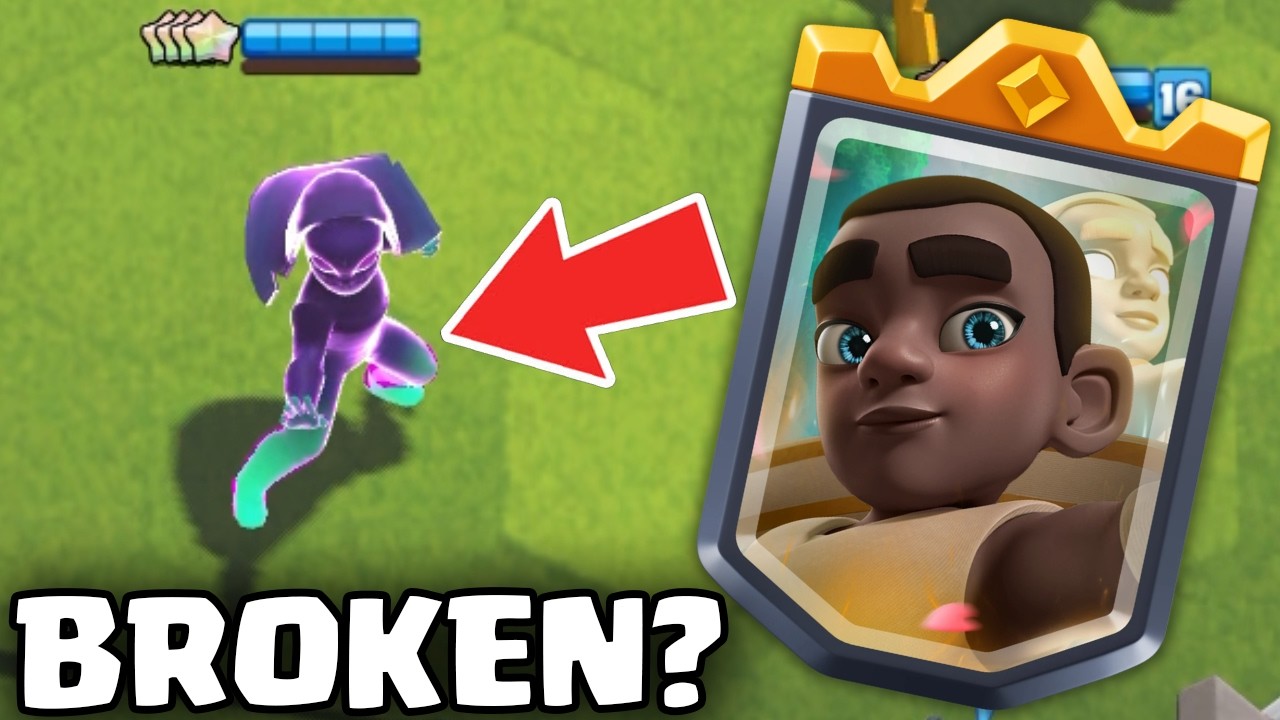
Credit: Ricky Royale
Echo Sage Diamond Strategy
While pushing through Diamond, Ricky Royale kept running into the Echo Sage, so he set out to find whether the Ruler is actually viable at that rank. The answer is yes, but only if you play it backwards: the Echo Sage scales off kills it lands personally, so you deliberately avoid an overwhelming early board, bank those kills into orbs and star levels, and turn the Sage into a game-ending splash threat.
This guide is based on Ricky Royale's Merge Tactics video covering three Diamond games: a loss in game one under the Orb Galore modifier, a top two under Ascension, and a total blowout under Three Star Fantasy. It breaks down how the Ruler quest works, why a weak start is correct, the Boss frontline that protects the Sage, the placement tricks that keep it alive, and the honest verdict on how strong this really is.
How Echo Sage Works
The Echo Sage is not a passive Ruler. Ricky Royale makes it clear that progression only comes from the Sage personally getting kills, which is how you advance the Ruler quest and unlock orbs. No kills means no progress, and no progress means your board falls behind.
- Kills are the currency: the quest only ticks when the
 Echo Sage lands the elimination, not when your other Troops clean up.
- Orbs are the payoff: Ricky Royale counts down to every orb threshold, and hitting them is what eventually pushed his board to a seven team size in game three.
- It splashes constantly: a key mid-video realization is that the Echo Sage splashes on every charge, not just occasionally. That changes how you want enemy units positioned.
- Star level matters enormously: the games escalate from a two-star to a three-star and finally a four-star Echo Sage, and the jump in output is massive.
Key insight: the Echo Sage is a scaling Ruler, not a tempo one. Every round you let it secure kills is an investment in the late game.
Why You Start Weak On Purpose
This is the part that trips players up, and Ricky Royale catches himself doing it more than once: a strong opening board is actually bad for the Echo Sage. If your Troops delete the enemy first, the Sage never gets credit for the kills.
- Hold back your best unit: in game three he grabs a strong early pickup and then stops himself, noting the board should not be "crazy strong" yet.
- Accept a weaker round one: missing the Echo Sage kill in round one is the worst outcome, worse than taking chip damage.
- Trade HP for progress: in game one he sits at 10 HP and is still unbothered, because the quest is moving.
- Save and spike later: use the quiet rounds to bank Elixir for a key pickup like the
 Mini P.E.K.K.A instead of spending to win a round you do not need.
⚠️ The real trap is greed in both directions: too strong and the Sage gets no kills, too greedy saving and your board collapses. Decide each round whether you are farming kills or actually trying to win it.
Keeping The Sage Alive
The Echo Sage is fragile and high value, so the enemy will try to remove it. Most of the damage in games one and two came from the Sage getting picked off before it could charge.
Main threats
 Musketeer: Ricky Royale names it as the obvious counter to an Echo Sage comp, and spends whole rounds hoping the Sage does not get sniped.
 Mortar: long-range splash that killed the Sage outright in game one, and he is visibly relieved when it ignores the Sage in game three.
 Bandit: the dash can jump straight into your backline if the Sage is placed carelessly.
- Marcher: it attacked the Echo Sage in game two, which genuinely confused him and cost the round.
Placement rules that worked
- Place the Sage last: dropping it at the last second lets you read the enemy board and time the positioning properly.
- Use the far side: putting the Sage out on the left pulled it away from dash range so the Bandit could not reach it.
- Hide behind a real tank: "we need a tankier frontline" is repeated all video. The Sage only works if something is soaking damage in front of it.
- Clump the enemy: the
 Monk pulling units together is what turns the constant splash into multi-kills.
Pro tip: the Echo Sage does not need to survive the whole fight. It needs to survive long enough to charge once into a clumped group, or onto one critical enemy Troop.
The Boss Frontline Comp
The comp that finally delivered the win was a Boss-heavy frontline protecting the Echo Sage, with ranged carries cleaning up behind it. Ricky Royale's own summary: take out one very important enemy Troop with the Sage, and as long as you have strong ranged units in the backline, they pick off everything else.
- Mini P.E.K.K.A: the first
 Boss unit he chases every game, and a three-star Mini P.E.K.K.A is called "really nice to have".
 Mega Knight: taken over the Monk at one point because it is simply the stronger body, and it becomes a second Boss on the board.
 P.E.K.K.A: the piece that rounds out the Boss core in game three.
- Warden: the fourth Boss in game three, and taking out the opponent's copy meant more copies available for him.
 Giant Skeleton: the game two opener, chosen specifically because the stun helps keep the Echo Sage safe.
- Monk: the utility piece that clumps enemies into the Sage's splash and adds a tankier frontline.
- Musketeer: the backline carry. He ends up running two Musketeers at seven team size and calls the pair "a work of art".
- Cheap filler: the
 Knight turns on
 Noble, while
 Firecracker,
 Archer,
 Barbarian and
 Spear Goblin show up as bodies and merge fodder.
⚠️ You cannot have everything. Ricky Royale talks himself out of forcing both Forest and Noble at seven team size: pick the Trait breakpoint you can actually hit and commit.
Game Plan By Stage
Early rounds
- Keep the board intentionally modest and make sure the Echo Sage lands the first kill.
- Buy a frontline body early. Giant Skeleton is ideal because the stun directly protects the Sage.
- Bank Elixir toward your first Boss unit instead of winning meaningless rounds.
Mid rounds
- Stack Boss units and push the Echo Sage to two-star, then three-star.
- Add a Musketeer and other ranged Troops as your damage while the Sage charges.
- Cycle the shop when you specifically need a tank. In game three he cycles and immediately finds exactly the frontline he was missing.
Late rounds
- Cash orbs into team size. Reaching seven team size is what turned game three into a blowout.
- Against a weak opponent, play minimal units and use the round to upgrade your Boss pieces instead.
- Clump the enemy with the Monk and let a four-star Echo Sage erase the board. The final fight was described as "overkill" and "gross" in the best possible way.
Strengths And Weaknesses
Strengths
✅ Enormous ceiling: a four-star Echo Sage with a four-Boss frontline and double Musketeer was completely unanswerable in game three.
✅ Snowballs through orbs: kills feed the quest, the quest feeds team size, and team size feeds more kills.
✅ Constant splash: because it splashes on every charge, it rewards clumping and good positioning rather than one lucky hit.
✅ Flexible comp: it slots naturally into Boss units and fills the rest with Noble or cheap ranged bodies.
Weaknesses
❌ Fragile Ruler: Musketeer, Mortar, Marcher and Bandit can all remove the Echo Sage before it does anything.
❌ Weak early game: deliberately underpowered opening boards mean real HP loss, and a bad stretch can end the run.
❌ High skill floor: Ricky Royale loses game one and calls it a skill issue, then finishes top two in game two after more misplays. Placement mistakes are punished hard.
⚠️ Counterable: he says outright there are definitely ways to counter it, with the Musketeer the obvious answer.
Key Units & Traits
- Echo Sage: The Ruler itself: farm kills to progress the quest, protect it, then let the splash take over late.
- Mini P.E.K.K.A: First Boss priority and a huge frontline body once it hits three-star.
- Mega Knight: Second Boss piece and the sturdier frontline choice over the Monk.
- P.E.K.K.A: Rounds out the Boss core on the way to a four-Boss board.
- Warden: The fourth Boss in the winning game three board.
- Giant Skeleton: Great opener: the stun directly helps keep the Echo Sage alive.
- Monk: Clumps enemy units together so the Echo Sage splash hits multiple targets.
- Musketeer: Main backline carry, and also the cleanest counter to an enemy Echo Sage.
- Boss: The core Trait of the comp: stacked Boss units give the tanky frontline the Sage needs.
TL;DR
- ✅ Echo Sage scales off kills: the Sage must land eliminations itself to progress the Ruler quest and earn orbs.
- ✅ Start deliberately weak: a too-strong early board steals kills from the Sage and stalls your scaling.
- ✅ Build a Boss frontline: Mini P.E.K.K.A, Mega Knight, P.E.K.K.A and Warden, with Giant Skeleton or Monk keeping the Sage protected.
- ✅ Place the Sage last second on the far side to dodge Bandit dashes and snipes.
- ✅ Clump with Monk: the Echo Sage splashes on every charge, so grouped enemies mean multi-kills.
- ✅ Cash orbs into team size: seven team size plus a four-star Echo Sage and double Musketeer was a total blowout.
- ⚠️ High skill floor: Musketeer, Mortar and Marcher can delete the Sage, and one bad placement can end the run.
The Echo Sage is genuinely strong in Diamond, but it is a payoff Ruler rather than a safe one. Ricky Royale's three games show the whole range: a loss when the Sage gets sniped, a top two when the placement is only half right, and a complete blowout once a four-star Echo Sage sits behind a four-Boss frontline with double Musketeer at seven team size. His own verdict is "pretty good" rather than busted, strong in a healthy way, with clear counters like the Musketeer available. Play it if you enjoy precise last-second placement and are comfortable taking early damage on purpose. If you want a comp that just wins rounds from turn one, pick something else.